I truly like the Raspberry Pi and bought almost every model so far. One is driving my 3d printer, another one is playing non stop on RecalBox, the first one is dead (this one is from Google images ![]() ) and the last one in the family is the brand new Raspberry Pi 4.
This model is not available in Singapore or is sold twice the price so I ended up buying a nice Canakit on Amazon US.
) and the last one in the family is the brand new Raspberry Pi 4.
This model is not available in Singapore or is sold twice the price so I ended up buying a nice Canakit on Amazon US.
Now what? It’s time to set up the new ultimate home server! The tasks I would like to assign to my new beloved Pi are:
- handle my home network (IPv4 and IPv6)
- docker everywhere
- pi-hole to filter the Internet
- VPN, torrent client and web proxy
- nginx as a web frontend for the containers + let’s encrypt
- home assistant / red node / mosquitto… for all my home automation stuff
- dozen of .Net core images because why not
Warm-up
Let’s start with the initial setup. Download the new Raspbian Buster lite image and use Etcher to flash a micro SD card. I used a 64GB Sandisk Extreme MicroSD card but I already know it will be the bottleneck. I will probably try to boot from an SSD drive later but it’s currently unsupported on the Raspberry Pi 4.
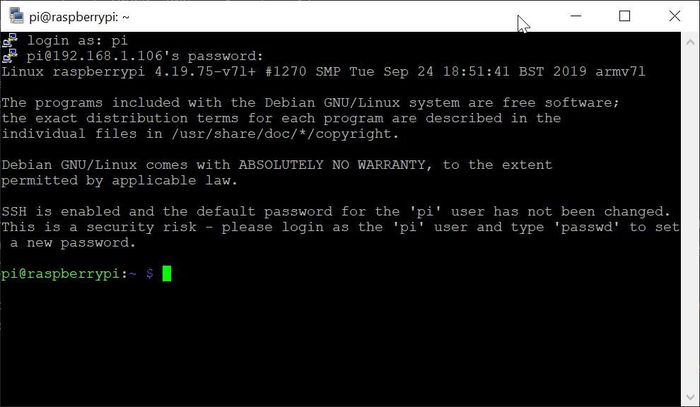
To launch the SSH service on startup, you need to create an empty ssh file in the root directory of the boot partition. Then you can connect the Raspberry Pi to your router and search for the assigned IP in the router DHCP leases table.
Once you got the IP, you can connect to the Raspberry Pi using the default credentials (pi / raspberry).
Initial configuration
You can now finish the Raspberry Pi configuration. Start by executing sudo apt update && sudo apt upgrade and once the system is up to date, launch sudo raspi-config and execute the following changes (depending on your location and inspiration for the hostname):
- Set the hostname to
pisin - Change the locale to
en_SG.UTF-8 UTF-8 - Change the timezone to
Asia/Singapore - Expand the filesystem to use the whole SD Card (in advanced options)
- And finally, reboot
Create a new user
Let’s create a new standard user account
$ export NEWUSER=myuser

-- Create a new user
$ sudo adduser --gecos "" ${NEWUSER}

-- Add the user to some groups (to allow sudo and reading logs)
$ sudo adduser ${NEWUSER} sudo
$ sudo adduser ${NEWUSER} adm

-- Allow sudo without asking the user password
$ echo "${NEWUSER} ALL=(ALL) NOPASSWD:ALL" | sudo tee /etc/sudoers.d/010_${NEWUSER}-nopasswd
Remove pi account and improve system security
You can now login to your Raspberry Pi using your new user. Once logged, you can remove the old pi account, deactivate root login and restrict SSH authentication to public keys only.
-- Add the SSH public key
$ mkdir .ssh
$ tee .ssh/authorized_keys << "EOF"
ssh-rsa AAAABC [PUBLIC KEY] XYZ
EOF

-- Remove the old pi account
$ sudo deluser pi
$ sudo rm -fR /home/pi /etc/sudoers.d/010_pi-nopasswd

-- Deactivate root login
$ sudo passwd -dl root

-- Deactivate SSH password authentication
$ sudo sed -i 's/#PasswordAuthentication yes/PasswordAuthentication no/g' /etc/ssh/sshd_config
$ sudo systemctl restart ssh
Before closing the existing SSH session, Try to login by creating a new SSH session and check you can call sudo and get the root privileges.
Extra configuration
Install simple MTA
Even in 2019, it’s still useful to receive emails. You can configure a simple MTA just in case.
$ export MTA_DOMAIN=ssl0.ovh.net
$ export MTA_USERNAME=sender@domain.tld
$ export MTA_PASSWORD=password
$ export RECIPIENT=recipient@domain.tld

$ sudo apt install msmtp-mta bsd-mailx
$ sudo tee /etc/msmtprc << EOF
account default
auth on
host ${MTA_DOMAIN}
port 587
user ${MTA_USERNAME}
from ${MTA_USERNAME}
password ${MTA_PASSWORD}
tls on
tls_starttls on
tls_certcheck on
tls_trust_file /etc/ssl/certs/ca-certificates.crt
aliases /etc/aliases
EOF

$ echo "default: ${RECIPIENT}" | sudo tee -a /etc/aliases
$ sudo newaliases
You can test the configuration with the command echo "Message body" | mail -s "Test" recipient@domain.tld and wait for the mail (most probably in your spams folder).
Automatically install security updates
You can install the package unattended-upgrades to keep the Raspberry Pi up to date with the latest security updates.
$ sudo apt install unattended-upgrades

-- Add Raspberry specific origins
$ sudo sed -i 's/Debian-Security";$/Debian-Security"; \
> \t"origin=Raspbian,codename=${distro_codename},label=Raspbian"; \
> \t"origin=Raspberry Pi Foundation,codename=${distro_codename},label=Raspberry Pi Foundation"; \
> /g' /etc/apt/apt.conf.d/50unattended-upgrades

-- Enable mails reports
$ sudo sed -i 's/\/\/Unattended-Upgrade::Mail "";/Unattended-Upgrade::Mail "root";/g' /etc/apt/apt.conf.d/50unattended-upgrades
Remove unused packages
Finally, you can remove some unused packages
$ sudo apt-get remove avahi-daemon
$ sudo apt autoremove